GUIDE STEP 4 of 4 AI Image Generation and SVG Conversion
STEP 4 OVERVIEW Import, Compare, and Export with Figma
In this step, we move into the realm of Figma. Here, we’ll import the SVG images we’ve generated, compare them against each other to find the best fit, and finally, export our high-quality listing assets. This decisive stage ensures that the SVGs you’re offering are truly the cream of the crop, standing out in any marketplace.
STEP 4.1 Import into Figma
Open Figma and create a new art board, and import all of the svg files saved from step 3 and line them up next to each other for comparison.
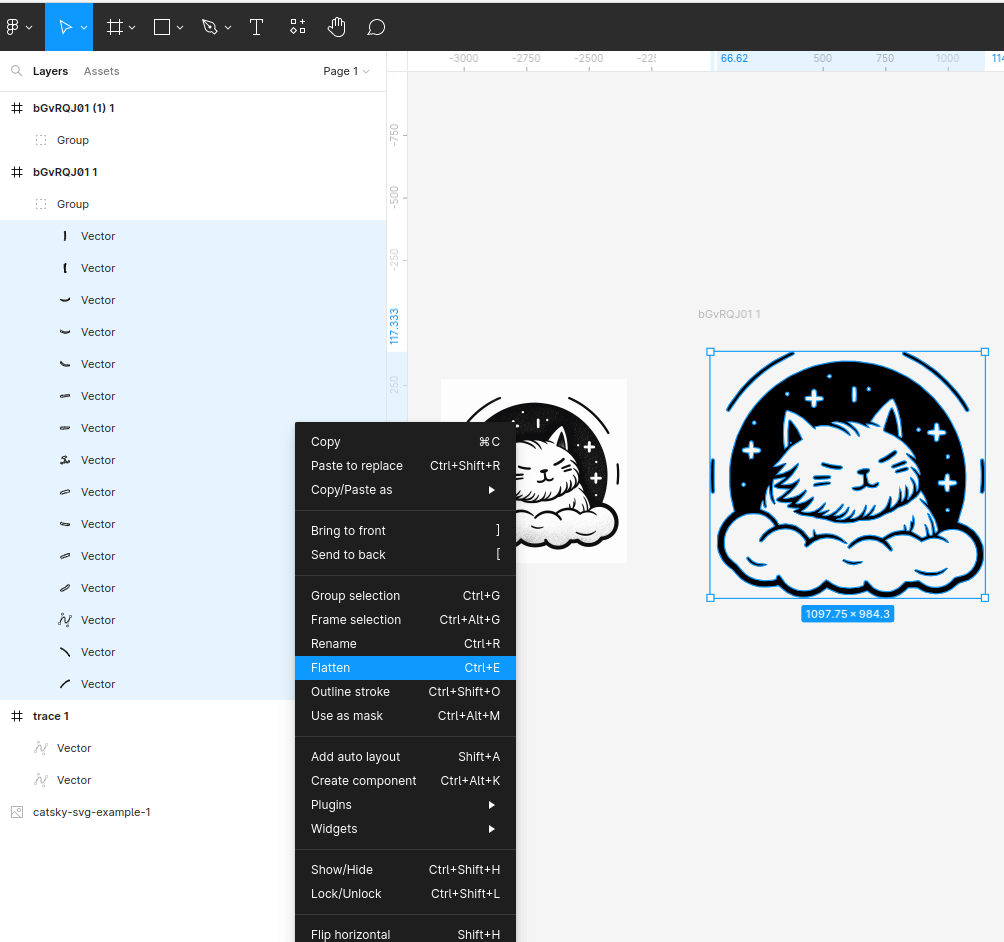
STEP 4.2 SVG flattening
Flatten the SVG into a single layer. Select all of the individual layers for your SVG image, right click, select flatten.
Delete any unwanted layers before flattening into a single layer.

STEP 4.3 SVG cleanup continue
Move the now single layer, flattened vector to the the topmost layer and delete any container old groups/frames (the where we just removed our flattened vector from)
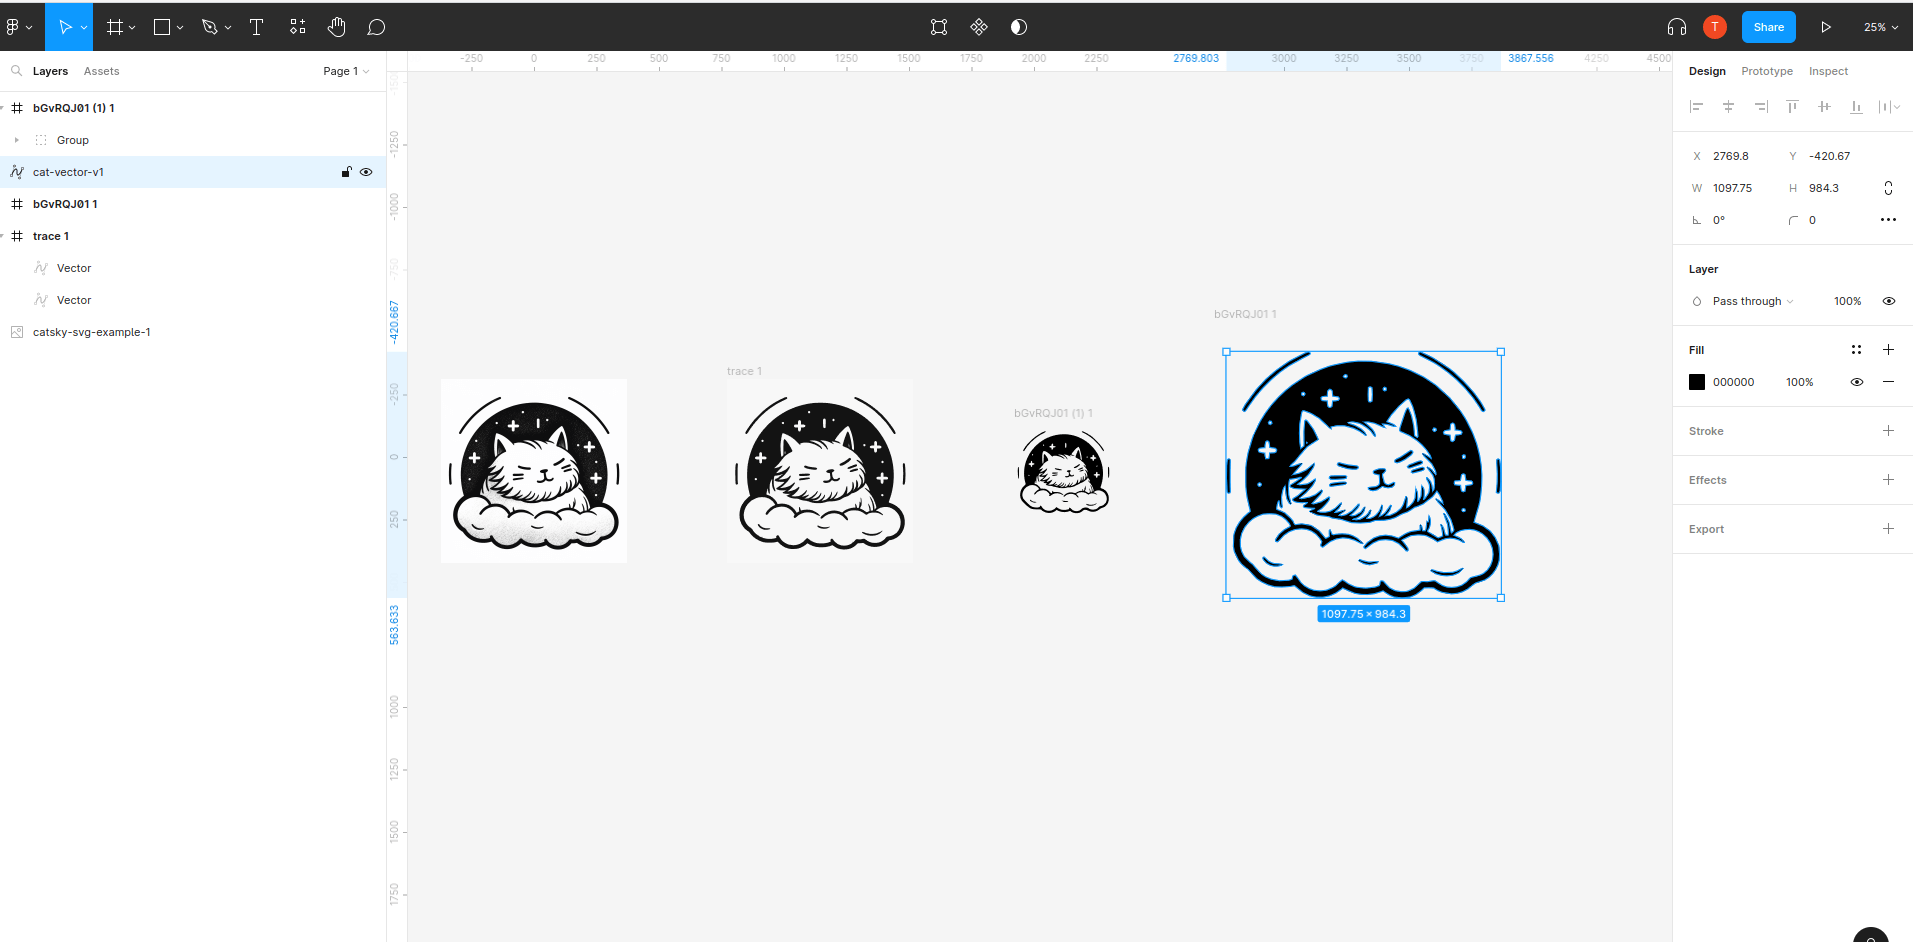
STEP 4.4 Repeat for all imported SVGs
Repeat this for each imported svg. In the end we should only have our original png image and our imported, flattened vectors that can easily be resized to match and compare.
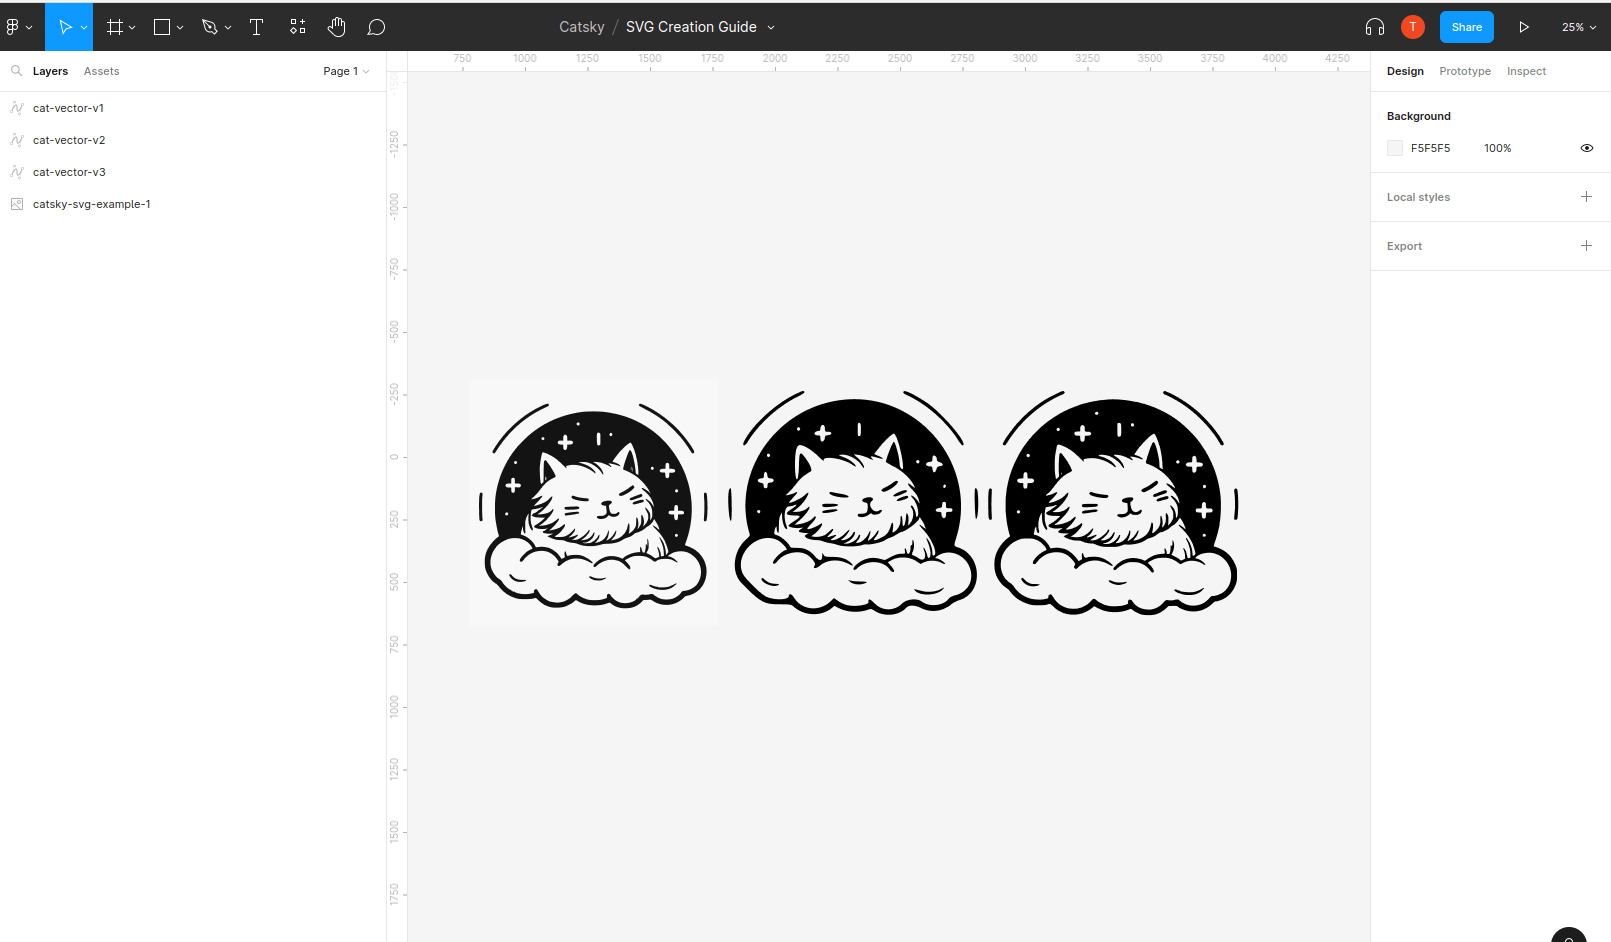
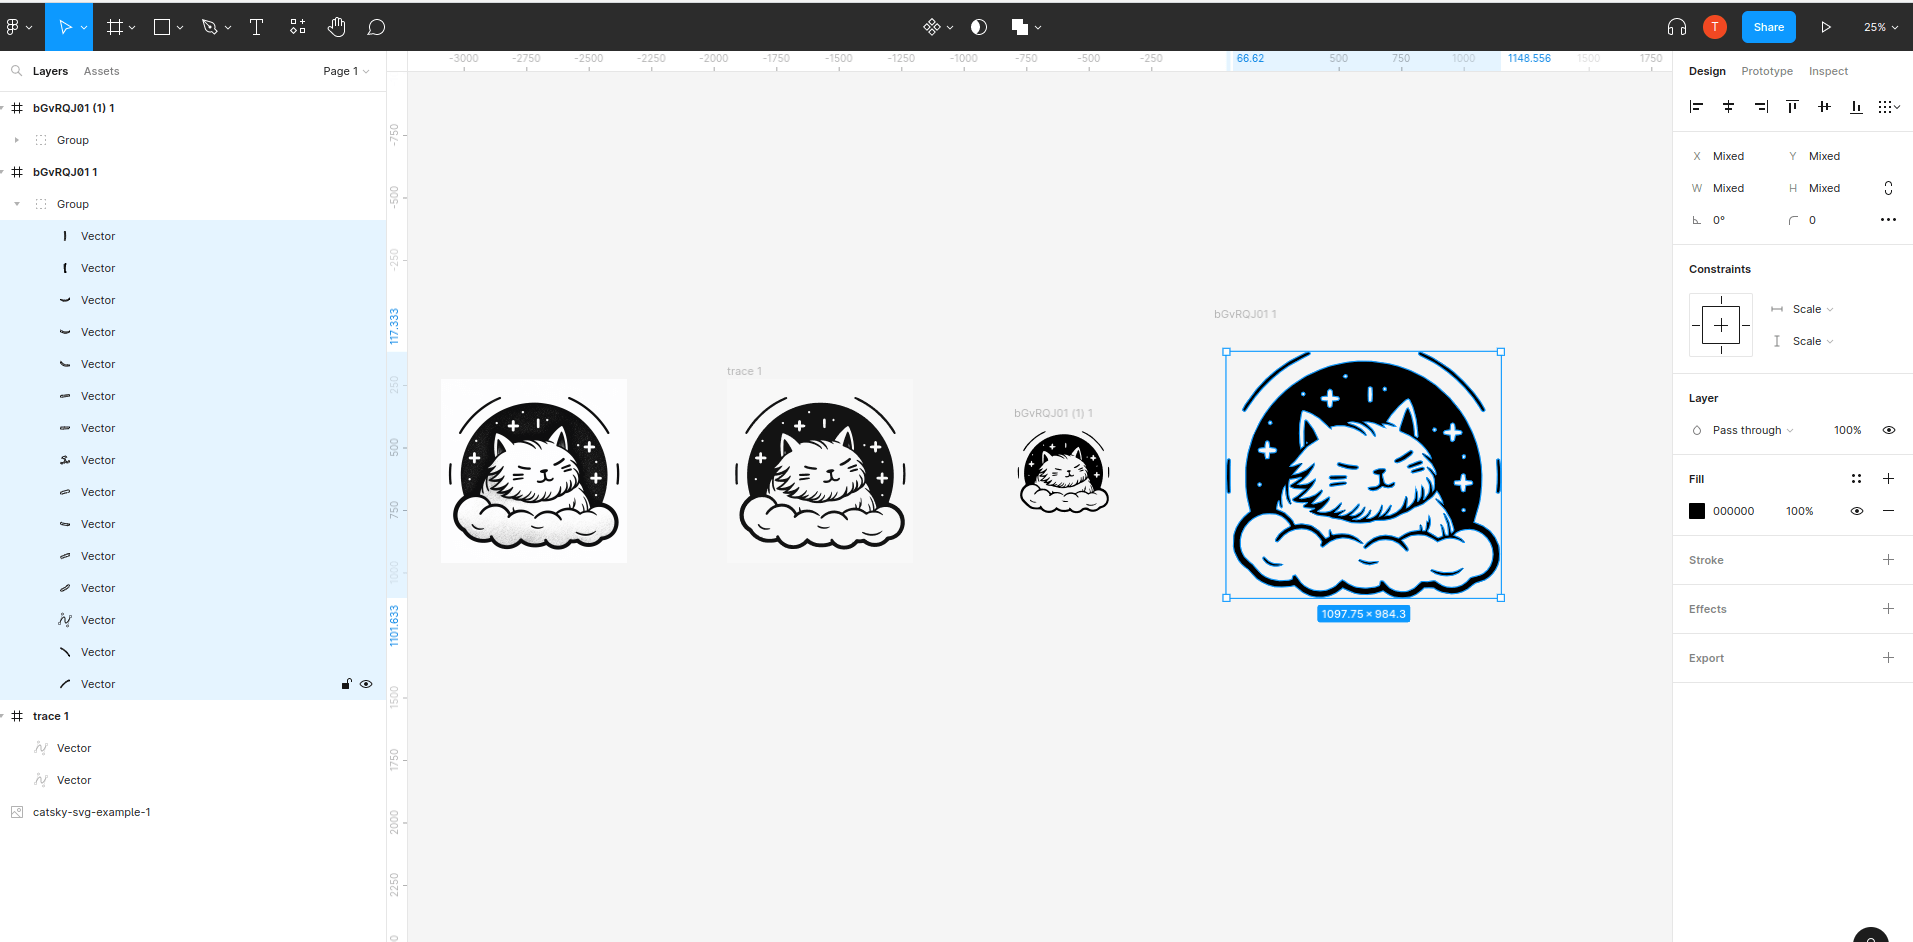
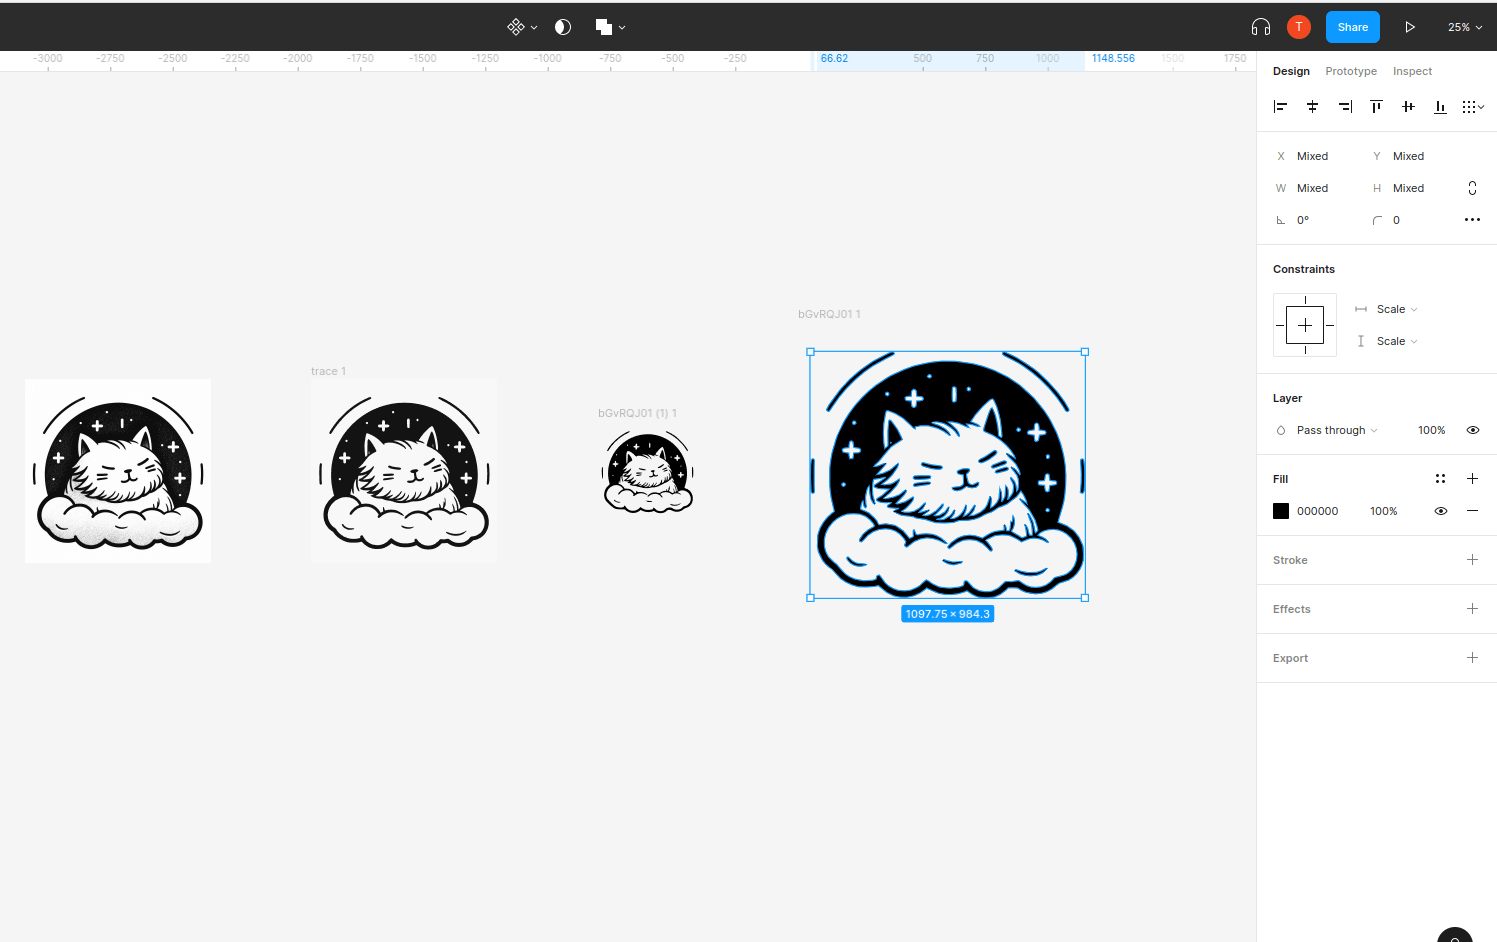
STEP 4.5 SVG Resize & compare
Resize all SVG imges to be the same size in order to do a side by side comparison to find the best SVG(s). It will vary based on your exact image size but something with a minimum of 1000px (either width or height)
Make sure to zoom way in on the images and look at the fine details. Were looking for smooth clean images and we generated a few precisely so we could pick the best so take a few minutes and compare.
Pro Tips Advanced editing
Advanced users may want to make some minor adjustments to a few details in order to produce the best looking, cleanest svg image.

STEP 4.6 Select image & export final files
Once you have the best svg selected it’s time to export the final, high quality downloadable asset. We want to export 3 files for each asset. In figma attach an svg, pdf, and a 4x png export to the final SVG image we selected.
Export and save your final assets.
THE FINAL STEP Submit to Catsky
Help advance the Catsky AI ecosystem and Catsky Community by donating your cat creations for Etsy.