GUIDE STEP 3 of 4 AI Image Generation and SVG Conversion

STEP 3 OVERVIEW Image to SVG conversion
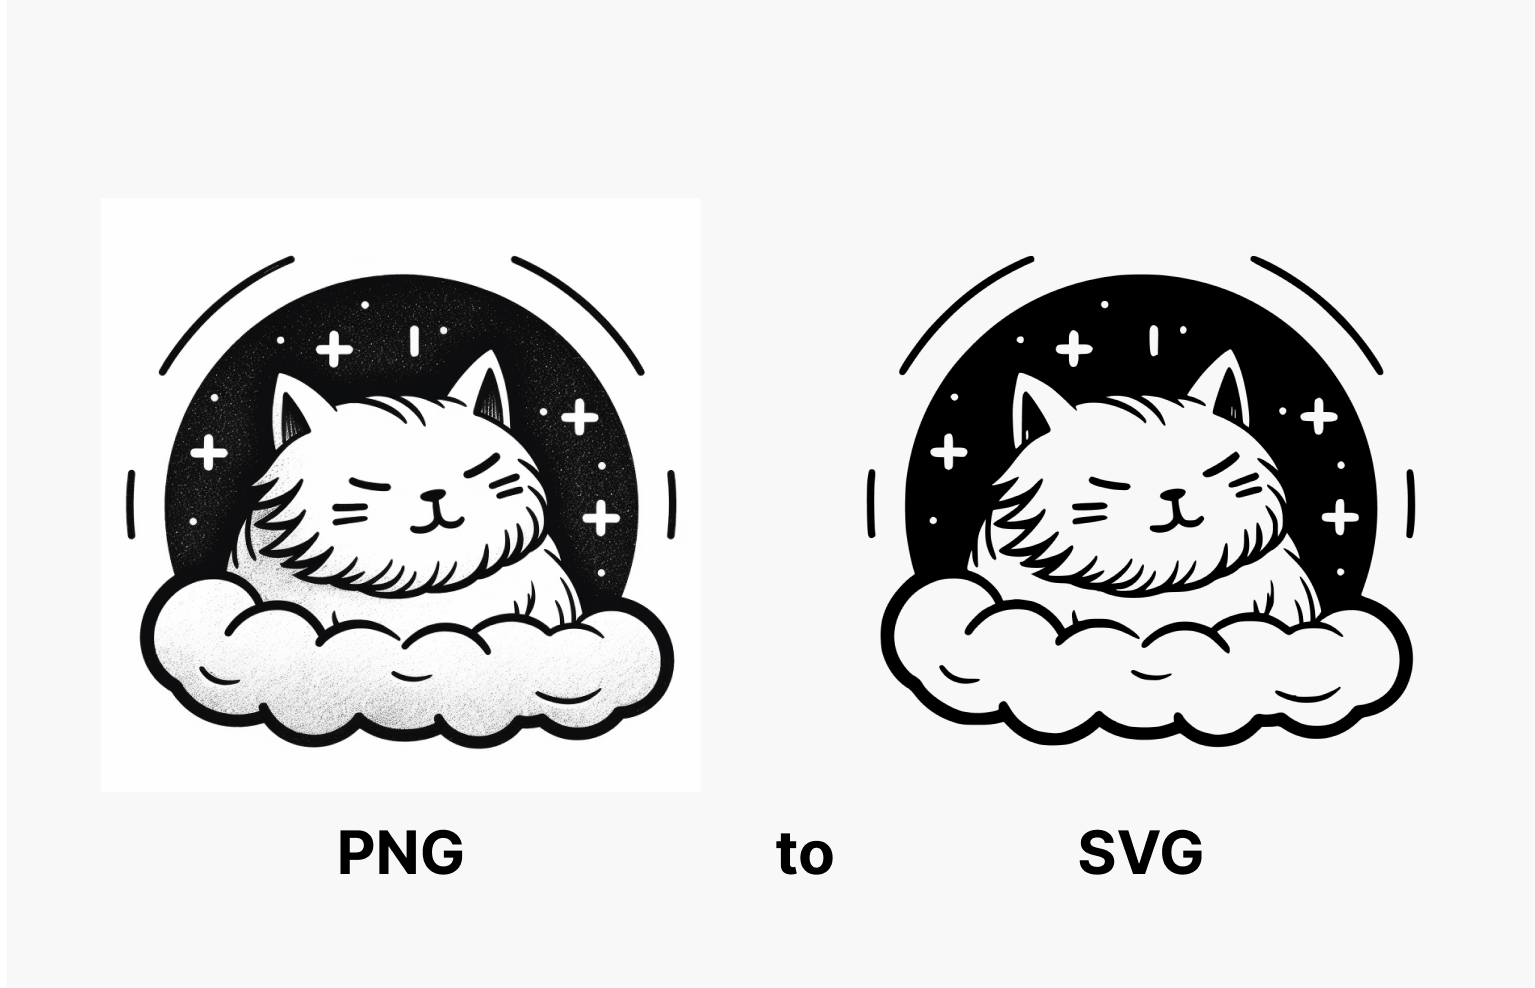
Using free online image to SVG conversion tools like svgtrace.com and picsvg.com we can generate quality SVG images from our original png or jpg images. Often, it is worth it to try both platforms in order to generate multiple conversion options, allowing for comparison and selection of the highest quality result.

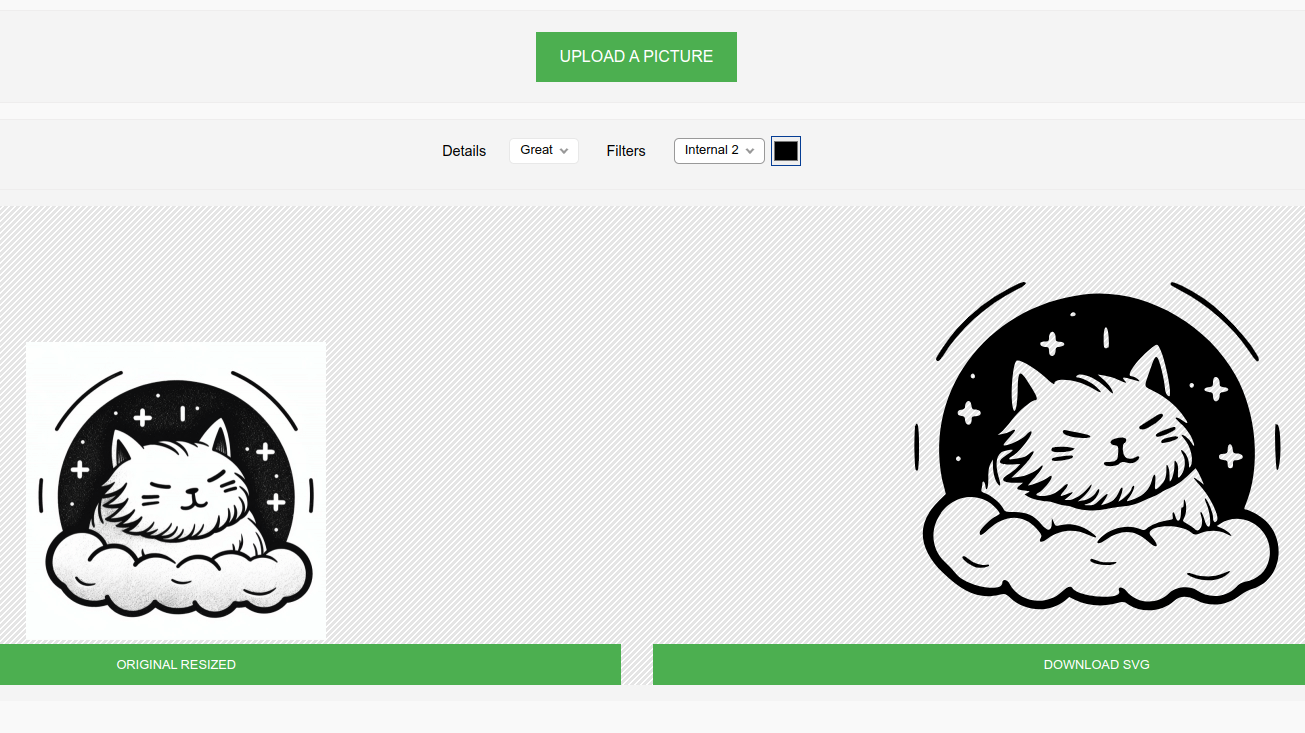
STEP 3.1a Image to svg with picsvg.com
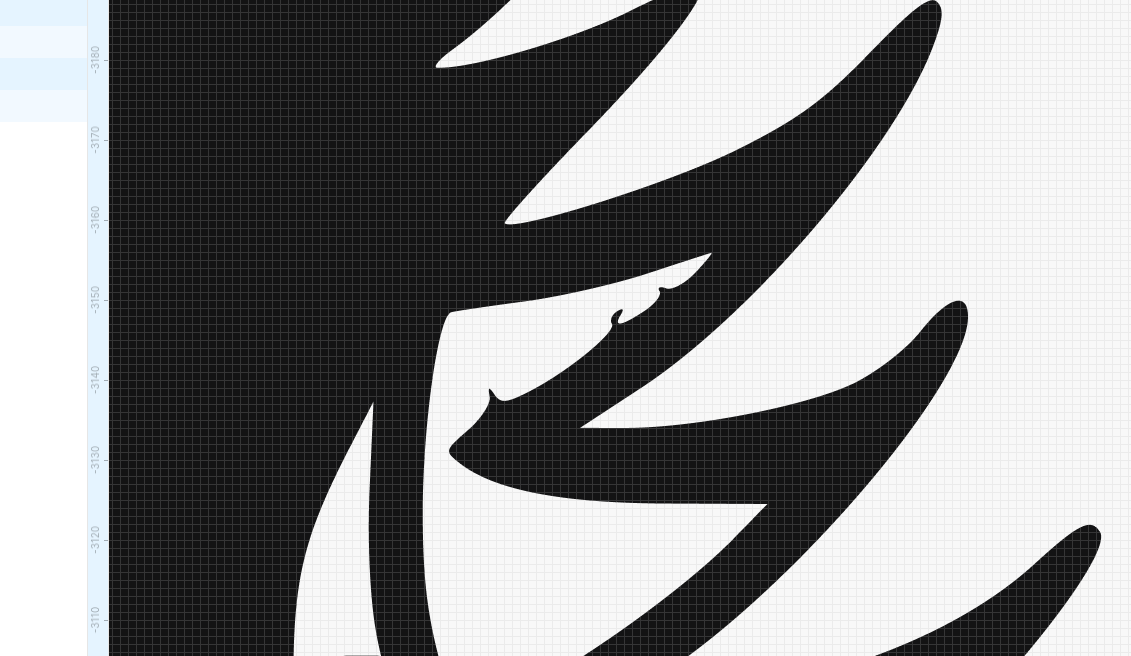
When fine-tuning your SVG images, various detail and filter settings may be adjusted according to the specific style you’re pursuing. However, the focus should be on producing clean, smooth SVG images, avoiding complexity and jaggedness. More often than not, ‘Internal 1’, ‘2’, or ‘3’ might be your go-to filter settings, though ‘Edge’ could be more suitable depending on the specific requirements of your project.

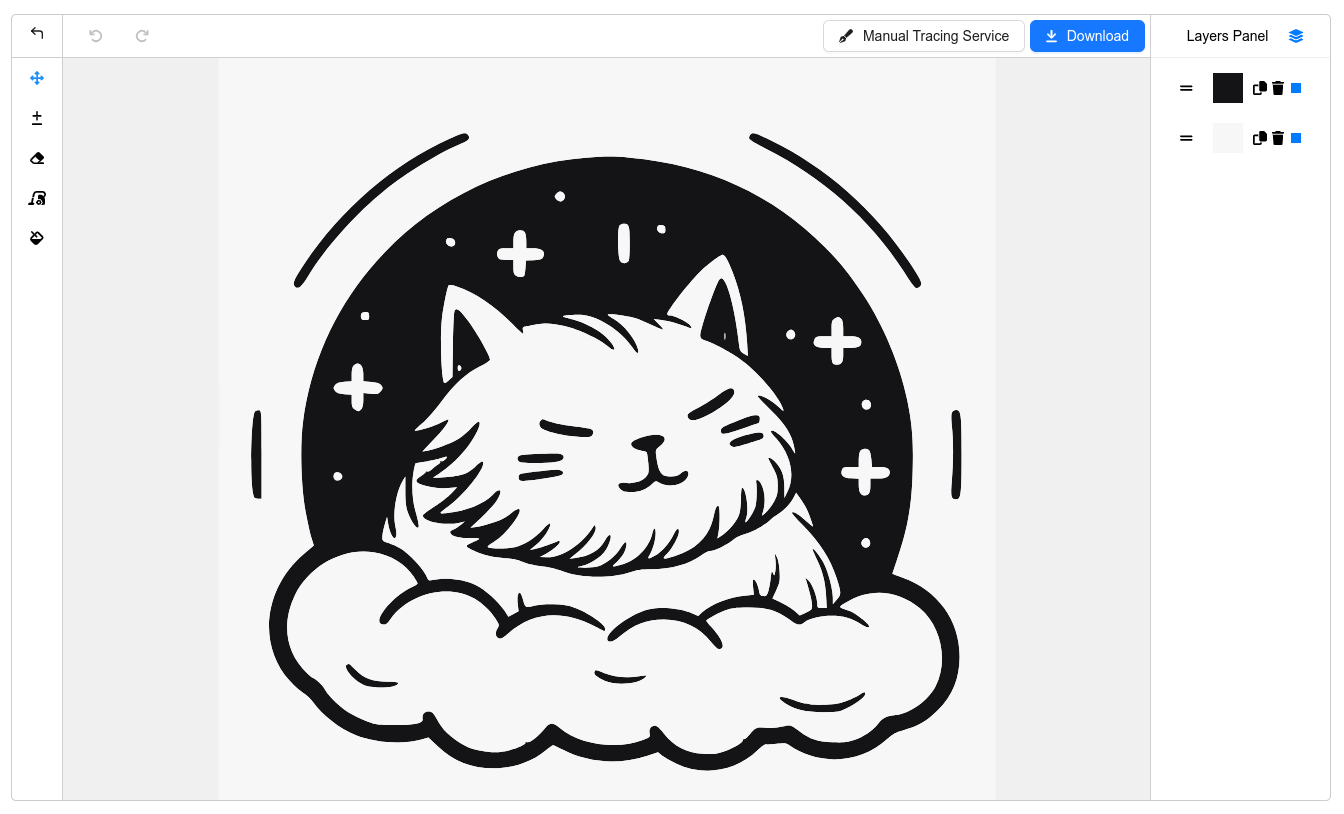
STEP 3.1b Image to svg with svgtrace.com
Initiate your process using the default settings for smoothness, simplifying curves, and despeckling, and consider adjustments if initial results aren’t satisfactory. Ensuring that only two colors are selected is crucial, typically one dark/black and one light/white. To manage colors, click on the image to add and use the trash icon next to the color for removal.
Pro Tips Image editing
If you have experience with photoshop or you’re an advanced figma user you can take an image with minor imperfections and clean it up. But i only recommend this if the clean-up is minor because the time and effort required to just re-roll your prompt multiple more times is minor.

STEP 3.3 Download and Save
Download the best 3 or 4 svg options from svgtrace.com and/or pictosvg.com

THE NEXT STEP SVG Image Cleanup
Now that we have few nice, crisp, clean svg versions of our file we can import them into figma and choose the best option(s) for our listing.