GUIDE STEP 2 of 4 AI Image Generation and SVG Conversion
STEP 2 OVERVIEW Generate images for SVG conversion
In step 1, we’ve located and copied the prompt, “cute illustration of a ‘sleeping cat’ line drawing style with black outline only,” using Midjourney’s explore feature. With this prompt as a starting point, we now have the option to generate images directly or modify it according to our needs before commencing the image generation process.
STEP 2.1 Generate images
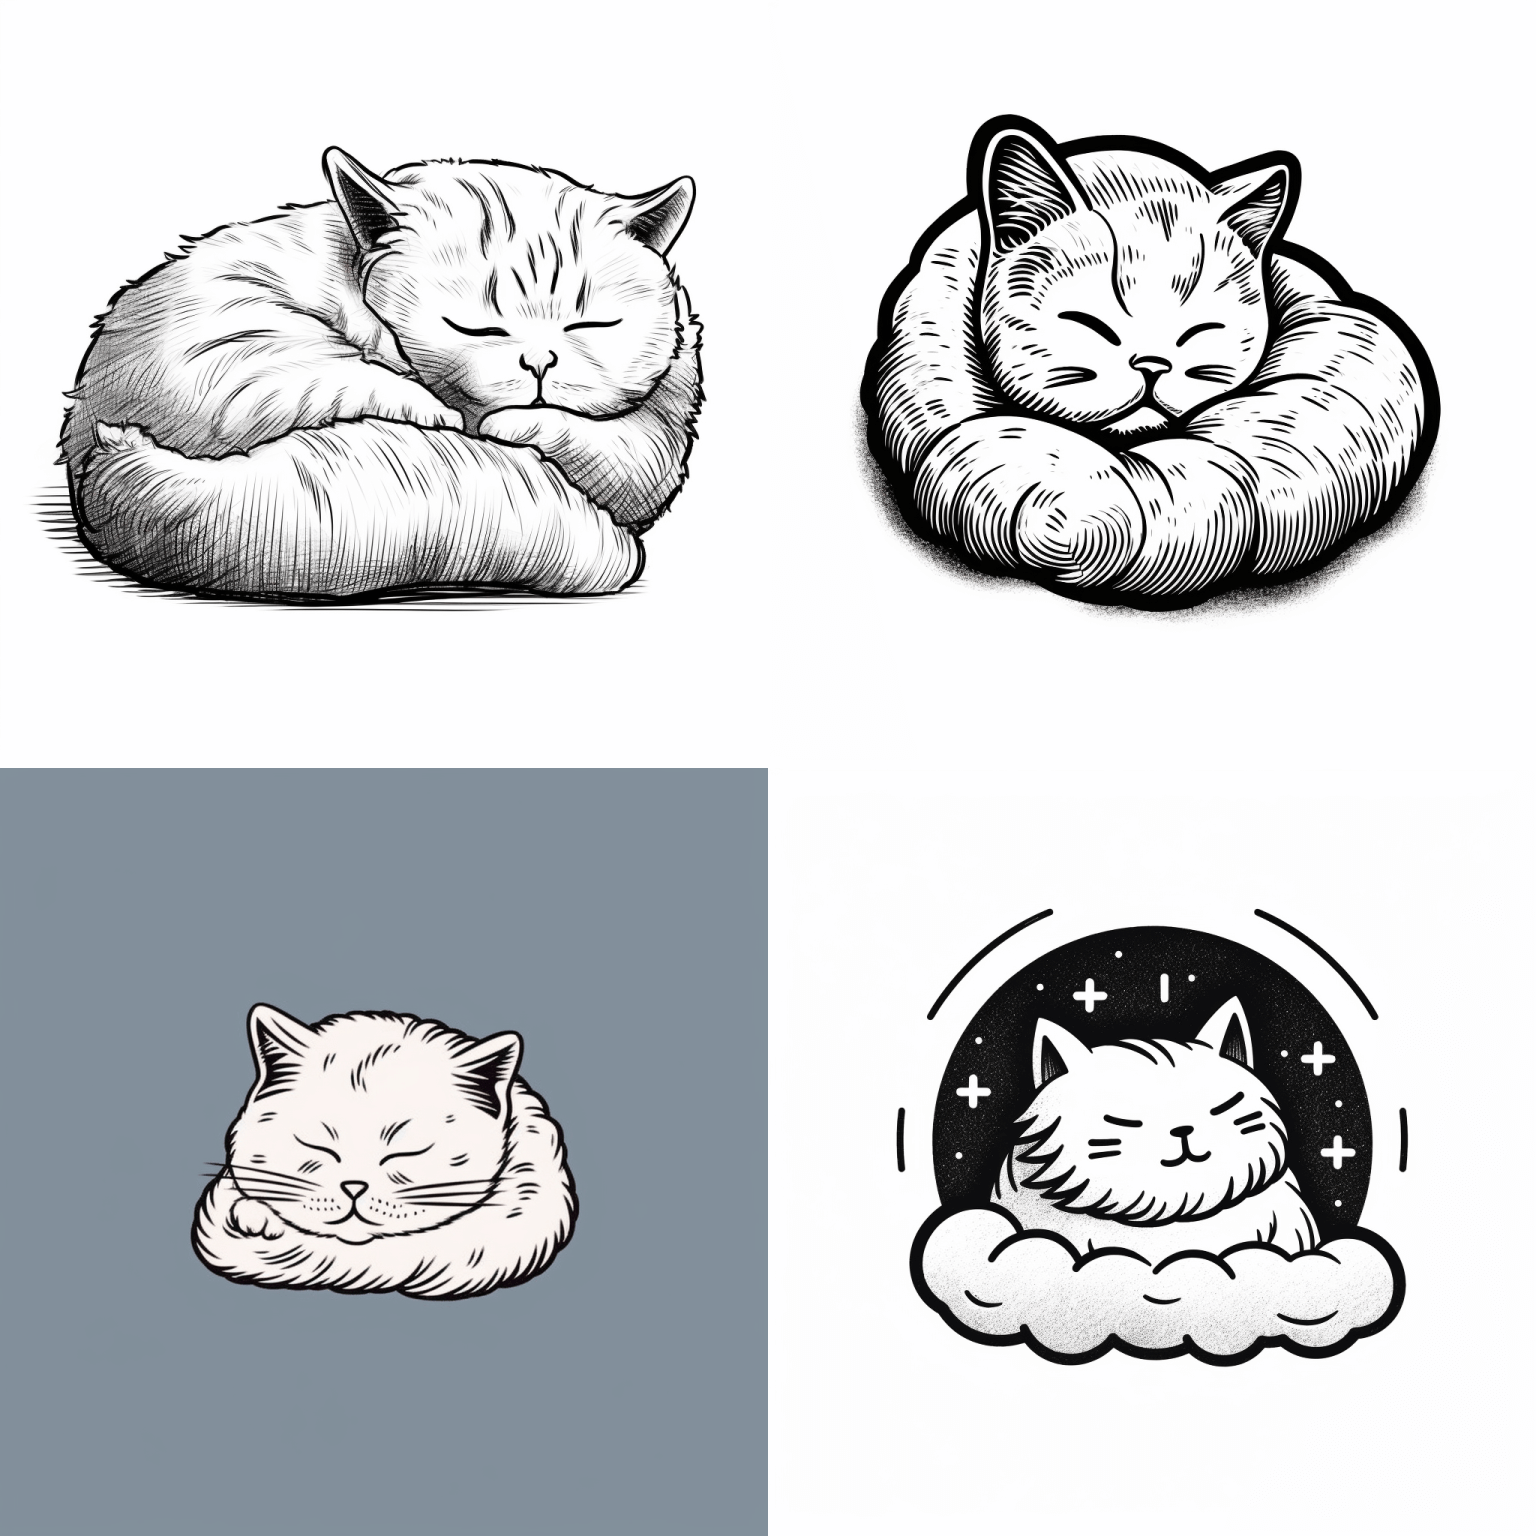
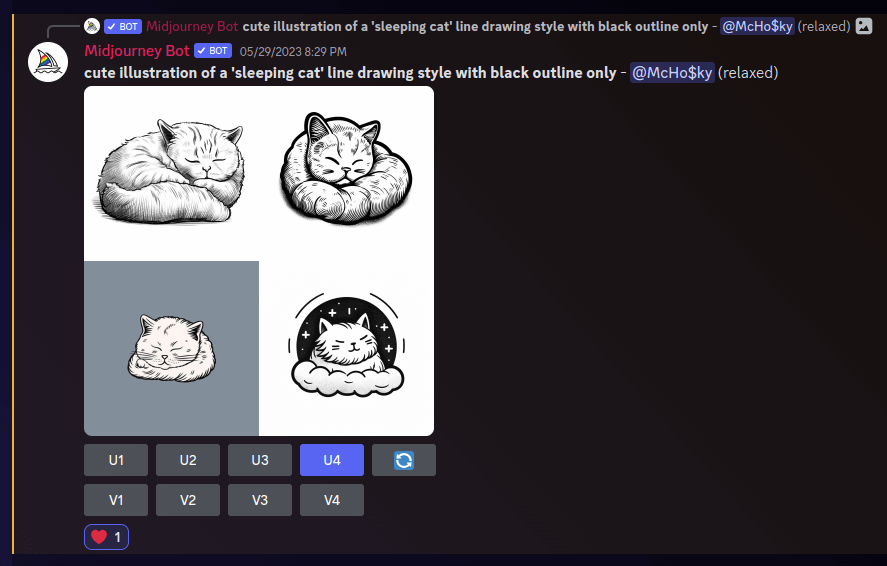
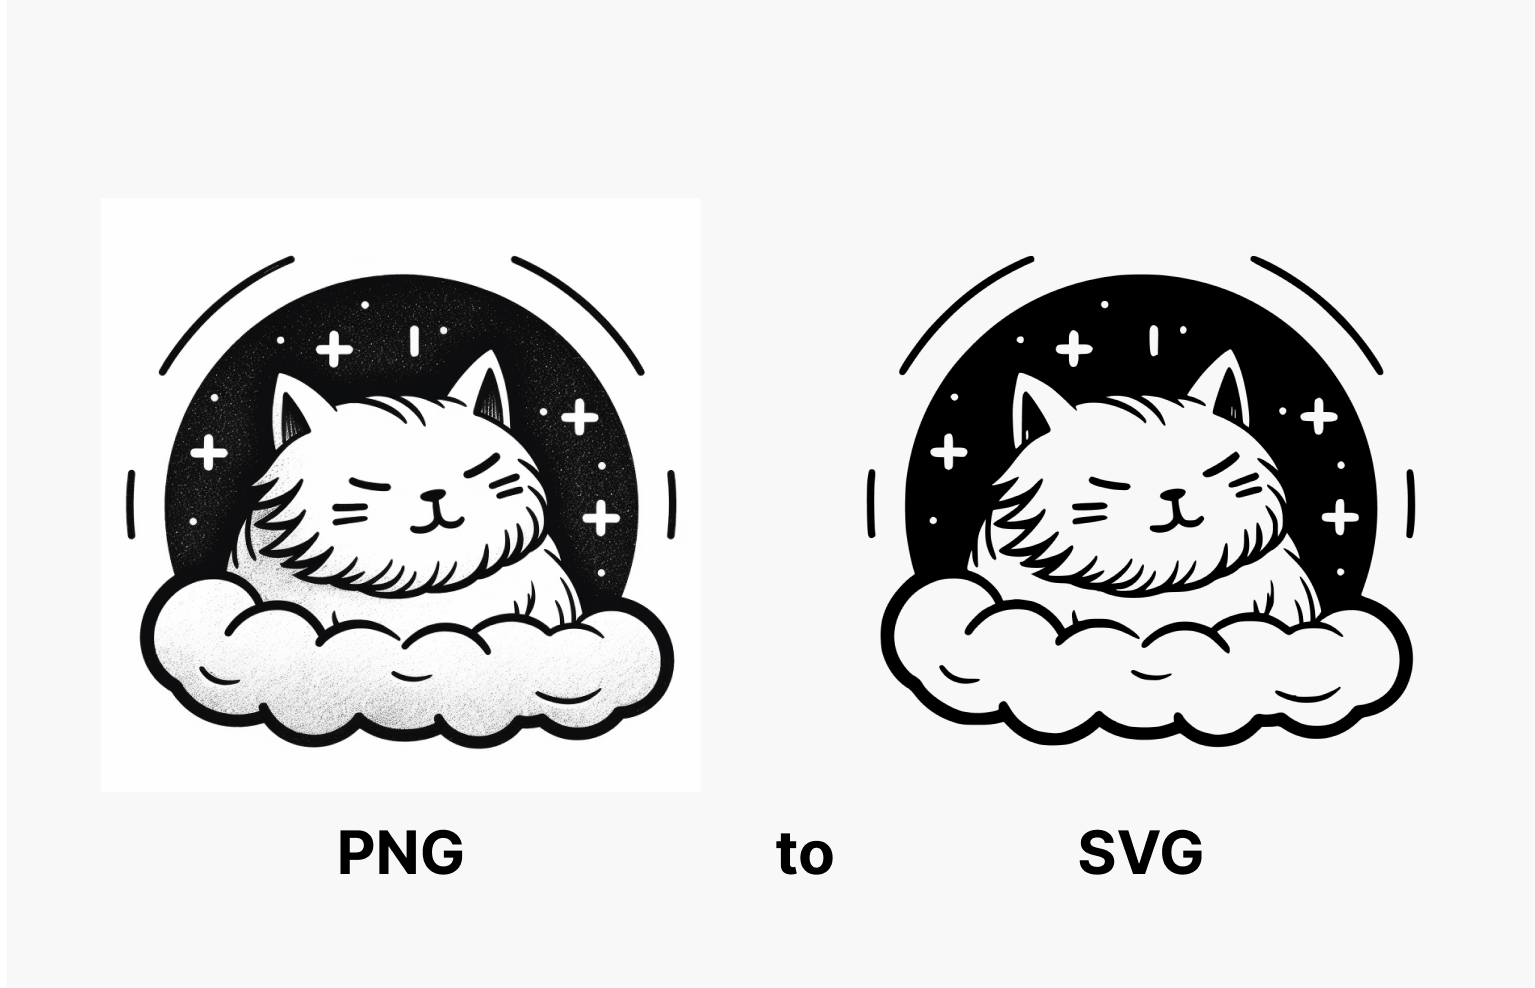
After rolling the prompt several times I procured a selection of images that are visually appealing and anticipated to translate seamlessly into high-quality SVGs. The image to the left represents one such successful result generated using our selected prompt within the Discord platform. (rolled with our prompt in discord)
Pro Tips Advanced prompting
Upload a base image into discord and include a link to your base image at the beginning of the prompt followed by the prompt itself, in this format. /imagine prompt:https://website.com/your-image.png, the full text prompt goes here.
STEP 2.2 Upscaling to high-quality mages
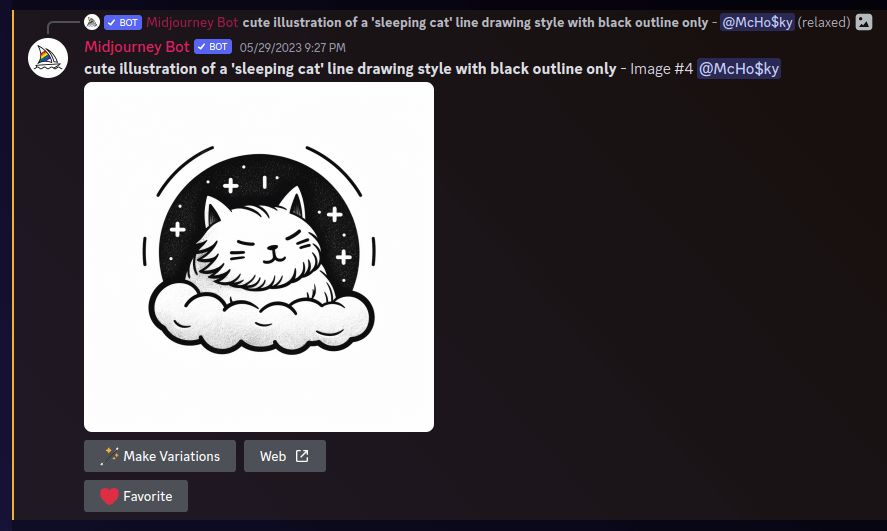
At this stage, we elevate the resolution of our chosen image by upscaling it from the discord UI by clicking on the U1, U2, U3, or U4 depending upon which image we are upscaling. In this case we click on U4.
Pro Tips Image editing
If you have experience with Photoshop or you’re an advanced Figma user you can take an image with minor imperfections and clean it up. But i only recommend this if the clean-up is minor because the time and effort required to just re-roll your prompt multiple more times is minor.
STEP 2.3 Save the upscaled image
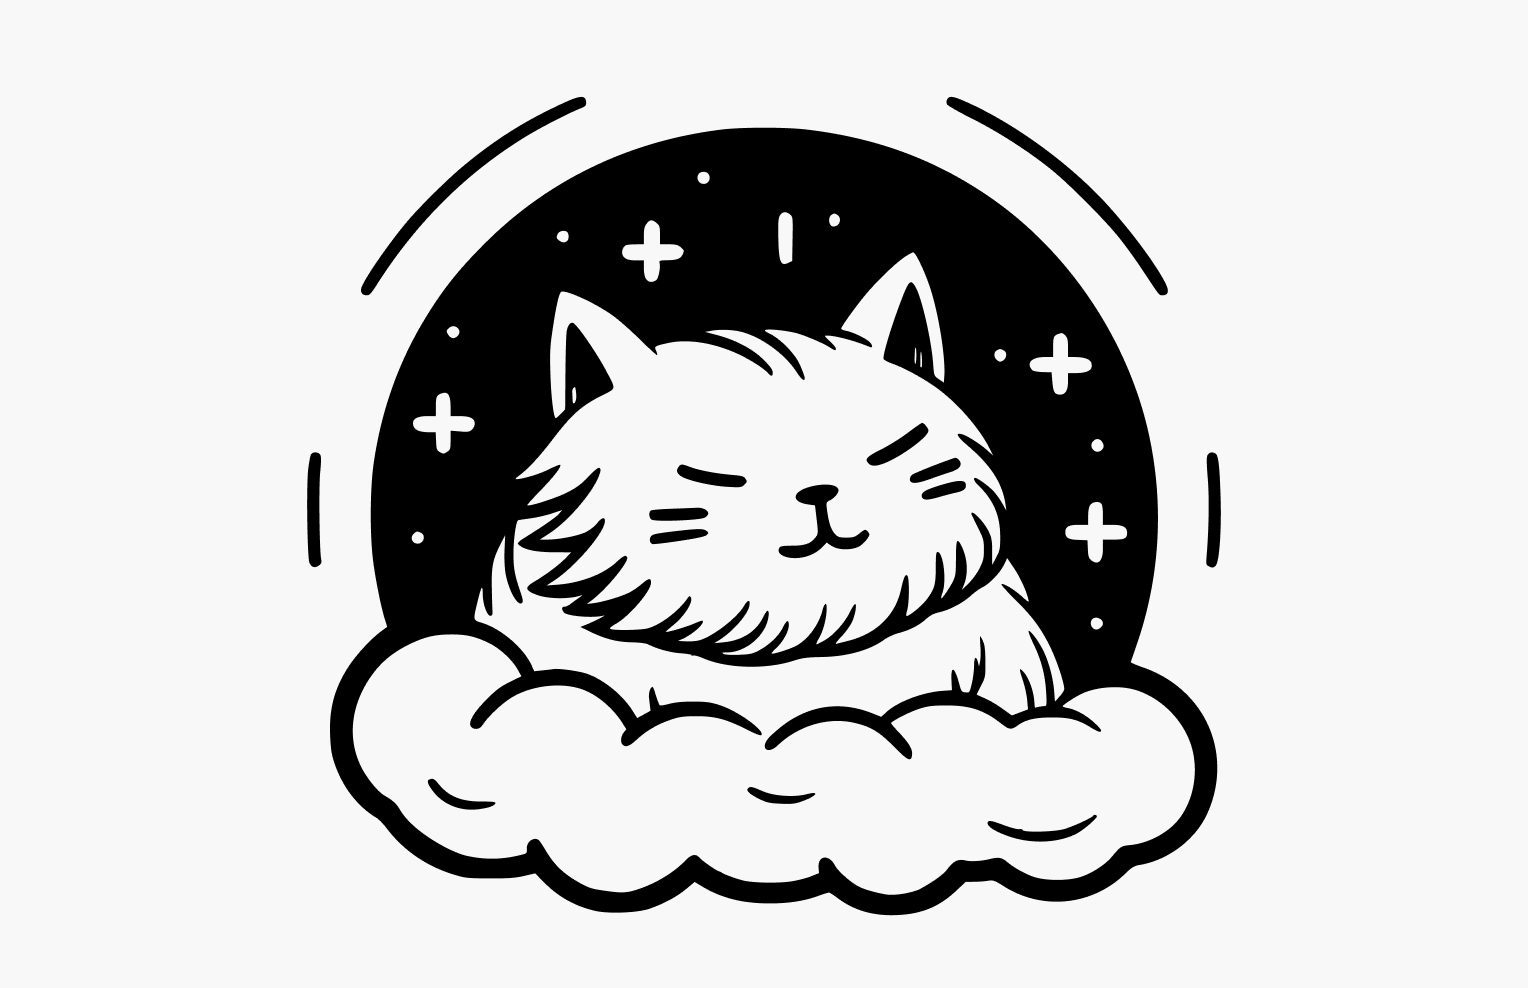
Save the upscaled image to your computer.
THE NEXT STEP Image to SVG conversion
Now that we have a nice, crisp, clean, upscaled image we can begin the conversion process.